
The Outside Bathtubs are the Best 🛁 😍
- Kirsten Seeto

- Jan 15, 2022
- 4 min read

I don't miss much about living in a full size house but I have missed owning a bath since moving to tiny living. Not a lot, but a bit. It's an easy way to practice a bit of self-care and a great way to sooth aching muscles from physical activity. A friend of mine recently told me that she had a bathtub in the garden of her (full-size) house and since she moved she immediately started searching for a bathtub for her new place. And I understand why now. Once you have experienced outside bathing, inside just won't do!
To lie in a bath and watch the sky slowly change colours is a new luxury. To hear the cicadas chirping away in the background, gin & tonic in hand, maybe some music playing on a portable speaker, maybe listening to an audiobook is pure heaven. A few snaps of my setup on social media have prompted lots of questions so here is a bit more information on my setup.
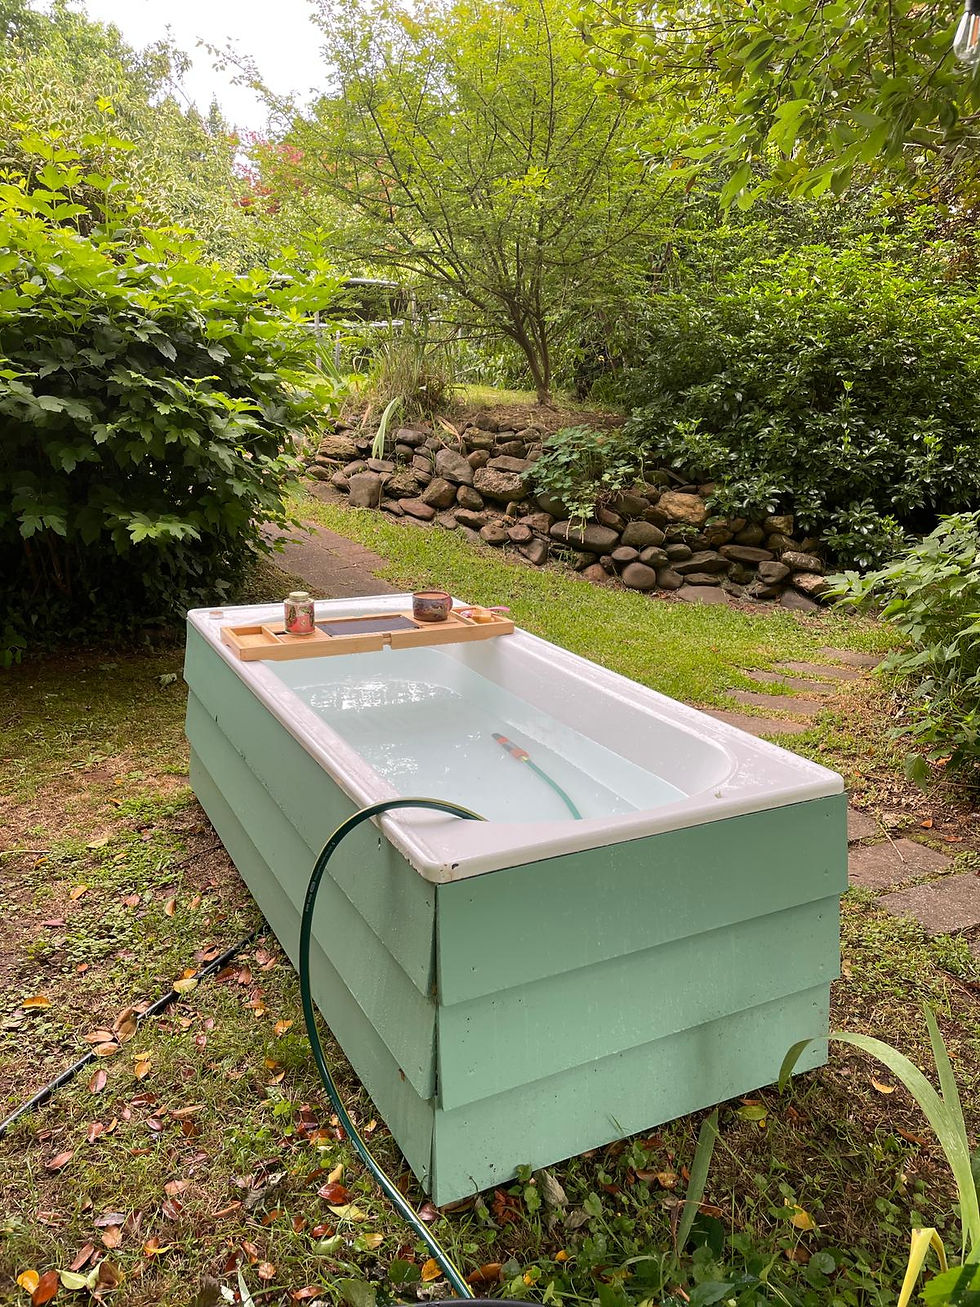
I was really hoping to find a second-hand clawfoot bathtub so I held out, waiting patiently for one to appear on Marketplace. My patience was rewarded after about 2 months with a fibreglass one in near-mint condition. Someone was remodelling their bathroom and this bathtub did not suit the new plans. $200 later I was the proud owner of a near-perfect clawfoot. I think I picked it up on Christmas eve - it was the best Christmas present ever! My plan was for it to sit on a deck that I had not yet built (or even planned properly) so whilst I had an extra pair of hands to manoeuvre it I sat it up high above my garden. Because I was excited about my new purchase, I laid down in it to test it out only to realise I had put it in an amazing spot to gaze down the valley I live in. This was definitely the summer bathtub position!

Having levelled it on a few pieces of timber off-cuts so that it would not tip over and drain correctly, I quickly realised that controlling the grass underneath it would be an issue. After making a few enquiries I got my hands on a friend's spare pavers and decided to lay a few pavers underneath instead. The lawn was not quite level so that required a bit of digging, some black plastic to discourage further growth and some sand to make getting the area level easier. I think getting the sand level was the hardest part. A bit more sand might have made that easier.
I thought about getting some polypipe and burying that so that I could transport the water from the tap to the bath neatly, but decided to try the simplest solution first. I connected a hose from the tap and chucked the other end of the hose in the bath. That worked fine, however, despite being summer I found that a cold water bath was a little painful. Also the bath position was in full sun till about 5.30pm so an earlier bath may have been more refreshing than icy but sunburn was going to sour that experience. I needed hot water and I needed to wait till evening when the bath was in shadow.
I contacted my plumber and had him install a hot water tap on the outside of my tiny house, near the other external tap. I thought I might lose a lot of heat in the 15m to the bath, but actually that didn't turn out to be an issue at all. At least not in summer. So hose it is - also means I can use it for other things too.

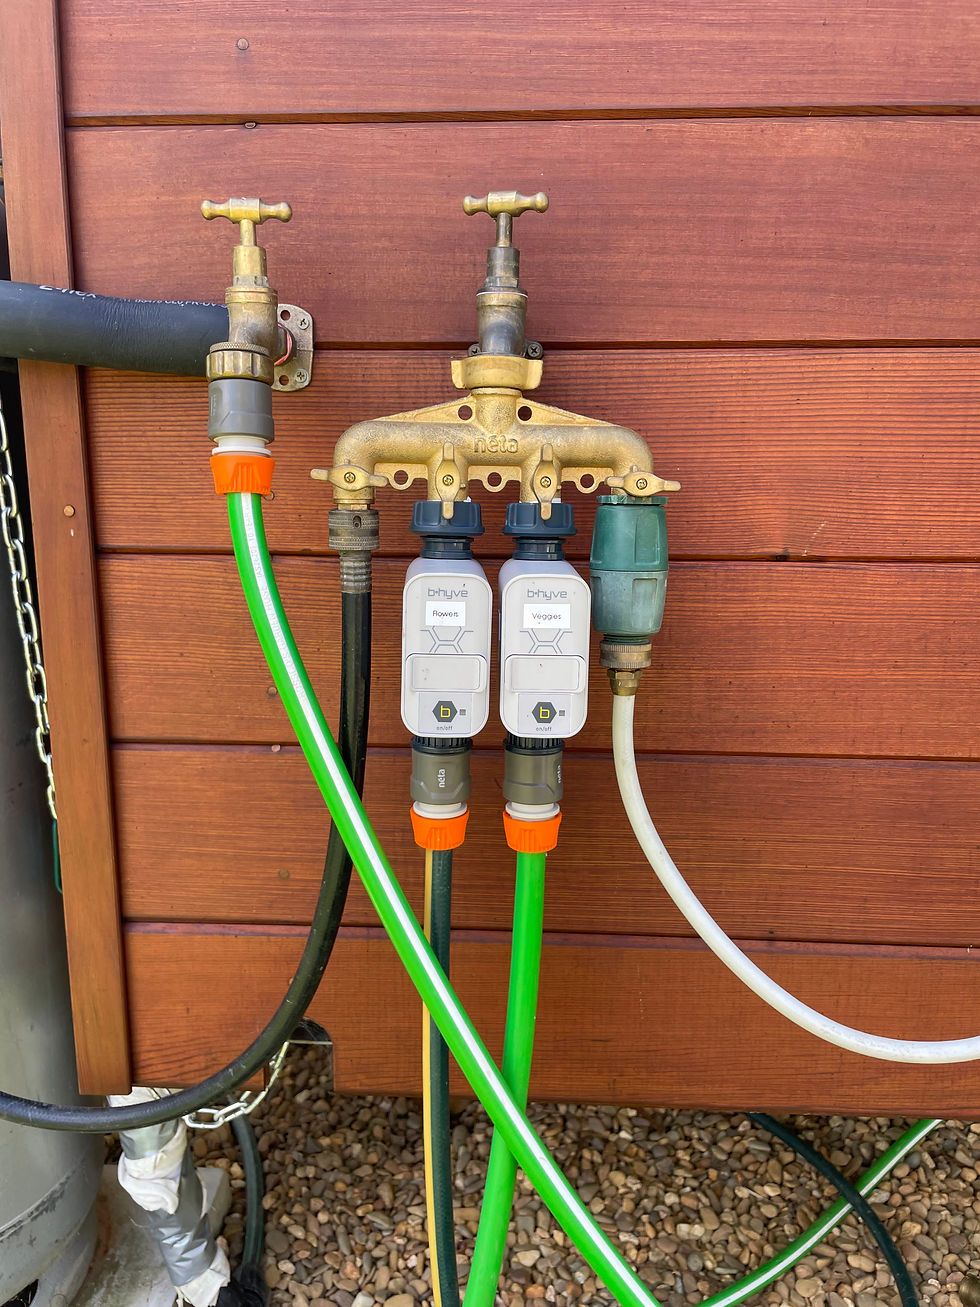
So there is the issue of being able to adjust the water temperature from the bath when the taps are 15m away. What I do is half fill the tub with hot water (which is temperature limited to about 55 degrees celsius) and then I take the hose off the hot water tap and put it on my wireless smart timer for my veggie patch (see my blog posts about smart home automation!). Then I turn the cold water on for my veggie patch using my iPhone app and get in the bath when its bearable. And when I'm happy with the temperature I can turn the cold water off on the app from the bathtub!

So the next part was how to divert the bath water when done so that it doesn't go to waste or end up making some part of my garden boggy. The bath sits at the top of a small slope that has my veggie garden at the bottom of it. The grass on the slope section often dies off in summer due to a lack of water so I set up some more hose and polypipe with holes drilled in it to distribute it across this area. Thanks to gravity, I now can water this area with my bath water.


If I did this bit again, I would put fewer holes at the end of the polypipe. Turns out that the pressure of all the water in the bath and hose ensures the water mostly comes out at the ends. Guess this is the concept of pressure head. I never enjoyed fluid mechanics at university - if I'd had this project to work on, I might have! So more holes at the top of the arc, than at the ends.
Oh, and the cover which just keeps leaves and dirt out of the tub when I am not using it is a single fitted sheet that I rescued from the Op Shop for $2.
So if all of this sounds manageable and this is something you'd like in your garden, get looking on second-hand marketplaces! Clawfoots are great, but as you can see recessed baths work a treat also! These are the outdoor bathtubs of a couple of my friends.


Comments